Zabbix is a robust open-source monitoring solution that allows you to keep track of various aspects of your infrastructure. In this guide, we’ll walk through the process of setting up a Zabbix server on an AWS instance.
Zabbix is an open-source monitoring software tool designed to monitor and track the performance and availability of servers, network devices, and other IT resources in real-time. It is used to collect, process, monitor, and visualize data from various systems, devices, and applications. Zabbix uses a server-client architecture where the Zabbix server collects data from monitored devices through Zabbix agents or other methods. It stores the collected data in a database and allows users to visualize and analyze this data through the web interface. Overall, Zabbix is a powerful and versatile monitoring solution used by IT professionals and organizations to maintain the health and performance of their IT infrastructure by keeping track of various metrics and providing insights into potential issues or bottlenecks. Simple explanation for Zabbix Monitoring Tool installation on Linux.
STEP1: Install Apache and PHP
sudo yum -y install httpd php
sudo cp /etc/httpd/conf/httpd.conf /tmp/httpd.conf
sudo vi /etc/httpd/conf/httpd.conf
STEP2: Add the following lines to the configuration file
ServerSignature Off
ServerTokens Prod
Save the changes and exit the editor
STEP3: Configure Apache Server
sudo grep -E 'ServerName|ServerAdmin' /etc/httpd/conf/httpd.conf
sudo sed -i 's/#ServerName www.example.com:80/ServerName zabbix.example.com:80/' /etc/httpd/conf/httpd.conf
sudo sed -i 's/ServerAdmin root@localhost/ServerAdmin meena21295@gmail.com/' /etc/httpd/conf/httpd.conf
STEP4: Restart the Apache server
sudo systemctl restart httpdSTEP5: Open Ports on AWS
Ensure the following ports are open on your AWS security group
- 80
- 10051
- 3306
STEP6: Set Up MySQL for Zabbix
mysql -uroot -pAdmin@123 -A
CREATE DATABASE zabbix /*!40100 DEFAULT CHARACTER SET utf8mb3 COLLATE utf8mb3_bin */;
show create database zabbix;
create user 'zabbix'@'localhost' identified with mysql_native_password by 'Test@123';
grant all privileges on zabbix.* to 'zabbix'@'localhost';
select user,host,plugin,authentication_string from mysql.user;
FLUSH PRIVILEGES;
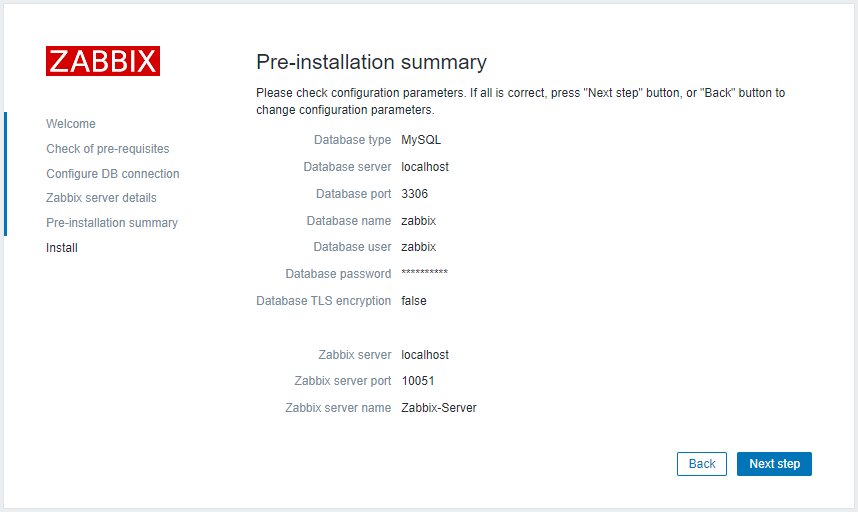
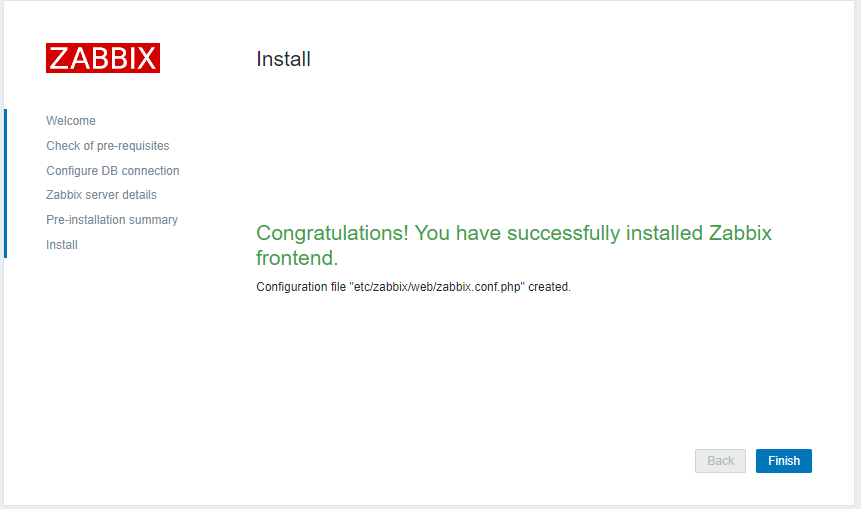
exitSTEP7: Install Zabbix Server and Frontend
sudo yum install -y https://repo.zabbix.com/zabbix/5.0/rhel/7/x86_64/zabbix-release-5.0-1.el7.noarch.rpm
sudo yum install -y zabbix-server-mysql zabbix-agent zabbix-get
sudo yum-config-manager --enable zabbix-frontend
sudo yum -y install centos-release-scl
sudo yum -y install zabbix-web-mysql-scl zabbix-apache-conf-scl
STEP8: Import Zabbix Database
zcat /usr/share/doc/zabbix-server-mysql*/create.sql.gz | mysql -u root -pAdmin@123 zabbixSTEP9: Configure Zabbix Server
mysql -u zabbix -pTest@123 -e 'SHOW CREATE TABLE zabbix.task\G'
sudo sed -i 's/# DBPassword=/DBPassword=Test@123/' /etc/zabbix/zabbix_server.conf
sudo sed -i 's/^; php_value\[date.timezone\] =.*/php_value[date.timezone] = Asia\/Kolkata/' /etc/opt/rh/rh-php72/php-fpm.d/zabbix.conf
STEP10: Enable Auto Start
sudo systemctl enable zabbix-server zabbix-agent httpd rh-php72-php-fpm mysqld
sudo systemctl restart zabbix-server zabbix-agent httpd rh-php72-php-fpm mysqld
STEP11: Check the Status
sudo systemctl status zabbix-agent httpd rh-php72-php-fpm mysqld
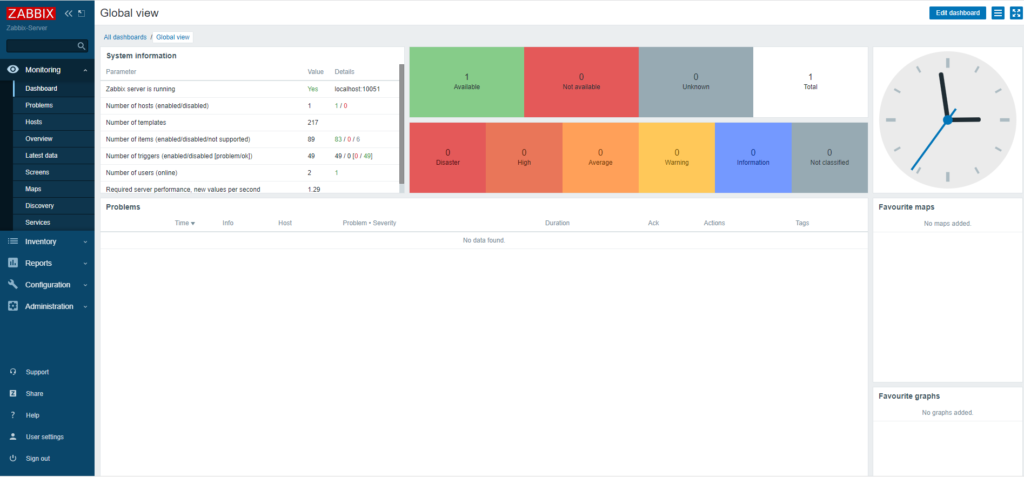
sudo systemctl status zabbix-serverSTEP12: Find the Public IP